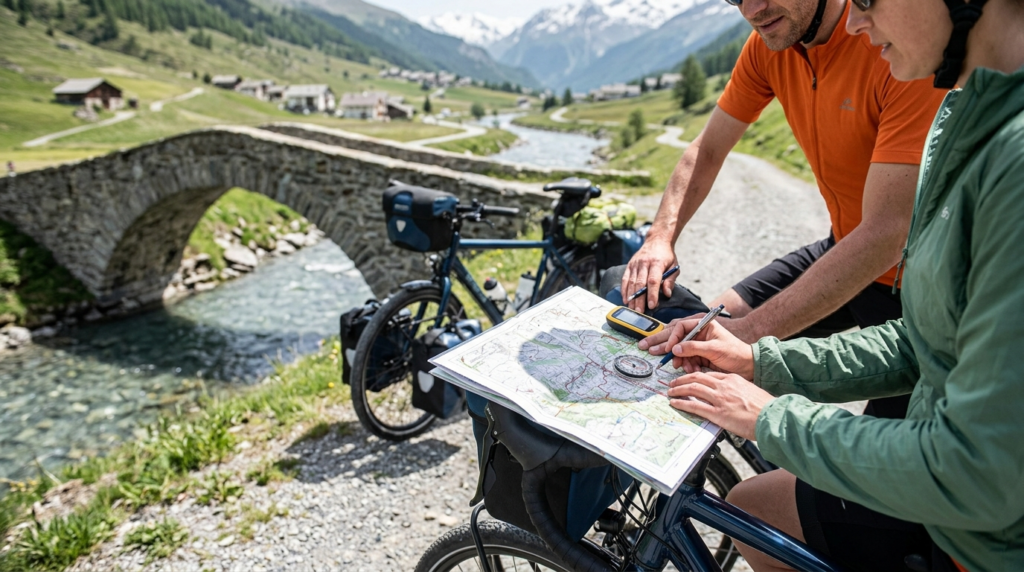
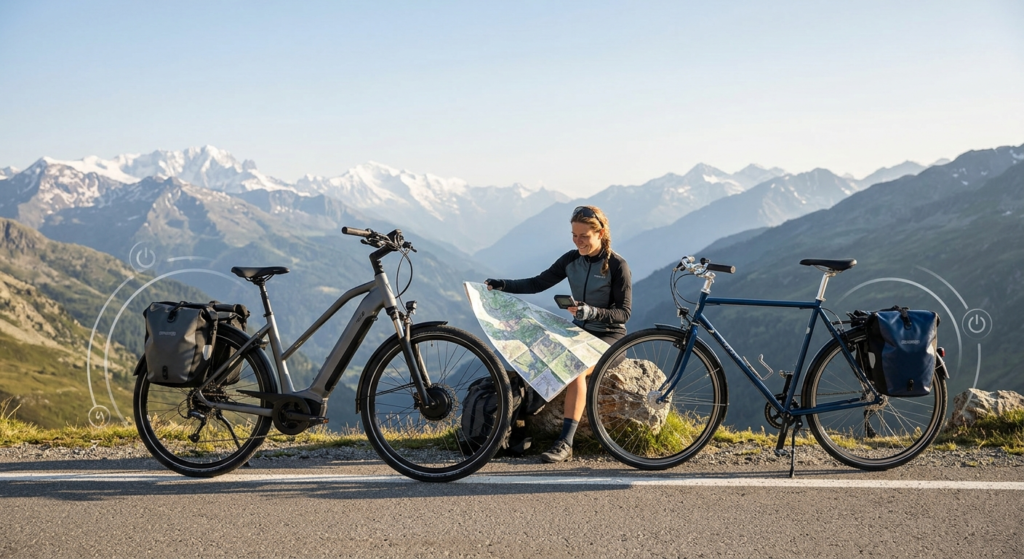
You’ve done a bike tour before. Or maybe you’re picturing your first one. Either way, you’ve got a decent idea of what it takes: a loaded bike, a route, some grit, and a lot of pedaling.
Now swap in an e-bike, and a few things quietly change. The riding part actually gets easier. But the planning part gets more particular. You’re not just packing a bike anymore. You’re managing a battery, a charging schedule, and a heavier machine that handles a little differently once it’s loaded down.
If you haven’t nailed down the basics of trip planning yet, it’s worth starting with how to plan a multi-day bike touring trip first. That covers the groundwork every tour needs.
This e-bike touring guide picks up where that one leaves off, and zeroes in on the stuff that’s unique to touring on an electric bike: charging logistics, weight, and range. Let’s get into it.
What Actually Changes When You Add a Motor and Battery
Here’s the short version. A regular touring bike is limited by your legs. An e-bike is limited by your battery. That one shift changes almost everything else.
You’ll cover more ground with less fatigue. Riders who track this kind of thing report finishing a 1,000-mile route in about two weeks on an e-bike, a trip that might take three weeks unassisted. You’ll also arrive at camp with more energy left for setting up, cooking, or just enjoying where you are instead of collapsing into your sleeping bag.
But you’re hauling a bigger, heavier bike. You need to think about where you’ll charge each night. And the number printed on the bike’s spec sheet is not the number you’ll actually get once you’ve loaded on gear and hit your first hill.
None of this makes e-bike touring harder, exactly. It just makes it different enough that copying a regular touring checklist word for word will leave gaps.
Battery and Charging Logistics on a Multi-Day Ride
This is the piece that has no equivalent in regular bike touring. A traditional touring bike never asks you to think about electricity. An e-bike does, every single day.
Charging takes longer than you’d think. A full charge usually runs four to six hours, depending on your battery size and charger. That’s not a quick top-up while you eat breakfast. It’s most of an evening, or most of a workday if you’re charging while you sightsee.
Your charging strategy needs to become part of your route. Cyclists who’ve done long e-bike tours often say this is the real mental shift: you start picking towns and stops based on where you can plug in, not just where the scenery is good. A few approaches that work well:
- Charge during breaks. A 90-minute lunch stop at a café or gas station can add a meaningful chunk of battery back, even if it’s not a full charge.
- Camp where you can plug in. Developed campgrounds often have outlets in bathrooms or at RV hookups. Call ahead if you’re not sure.
- Carry a spare battery. It’s the simplest backup, but it’s not free — a second battery can add ten to twenty pounds to your load.
- Carry just the charger instead. For many riders, packing the charger and finding an outlet each night is lighter than hauling a whole spare battery, as long as you’re comfortable relying on finding power.
- Look into a portable solar panel. This one requires more gear and patience, but it’s a real option for remote stretches with no outlets in sight, and it means you’re never fully dependent on someone else’s plug.
Cold weather cuts into your charge faster than you’d expect. Lithium batteries lose efficiency below about 40°F, and you can lose a real chunk of your range in cold conditions. If you’re touring somewhere chilly, bring the battery inside your tent overnight instead of leaving it out in the cold. It’ll hold its charge better and charge back up faster in the morning.
If you’re still deciding how big a battery to buy before your first trip, comparing a 700Wh pack against a 960Wh one is worth a look, since capacity is really the thing that determines how much flexibility you have each day. And because you’ll be running through far more charge cycles on a multi-day tour than you would in normal riding, it’s worth understanding how battery lifespan actually works before you head out.
From the repair bench
The connector where your battery meets the charger is the part riders forget about on tour. It gets plugged and unplugged every single night, often outside, sometimes in the rain or dust. Grit in those contacts is one of the most common reasons a bike suddenly “won’t charge” halfway through a trip. Wipe the connector dry before you plug in each night, and you’ll dodge a problem that’s easy to prevent and annoying to diagnose on the road.
Weight Distribution: Loading a Heavier Bike the Right Way
An e-bike is heavier before you’ve packed a single bag. A loaded e-bike commonly comes in somewhere around 45 to 65 pounds, compared to roughly 20 to 45 pounds for a loaded traditional touring bike. That gap is mostly the battery and motor, and it changes how the bike behaves once you start adding gear on top.
Where your battery sits already shapes the bike’s balance. A battery built low into the frame keeps the bike’s center of gravity low and centered, which makes for steadier handling. A battery mounted on a rear rack sits higher and further back, which can make the bike feel tail-heavy even before you add panniers.
This matters for packing, because a lot of e-bikes already carry that battery weight at the rear. Stack your camping gear back there too, and you can end up with a bike that steers vaguely and stresses the rear wheel more than it should. The fix most touring riders land on is simple: shift more of your gear to the front rack than you would on a regular bike. Splitting the load between front and rear, rather than piling everything on the back, keeps the bike easier to handle on climbs, descents, and tight turns.
A few other things worth doing before you load up for real:
- Check your wheels can handle it. Extended touring with a loaded e-bike is hard on spokes and rims. If you’re planning serious mileage, ask a shop about reinforced wheels built for the extra weight.
- Make sure your brakes are up to the job. Hydraulic disc brakes handle the combined weight of bike, rider, and gear far better than basic rim brakes, especially on long descents.
- Do a loaded test ride before you leave. Pack the bike the way you plan to for the trip and ride it around your neighborhood first. It’s a lot easier to notice a balance problem in your driveway than twenty miles into day one.
If you’re choosing between motor setups, it’s worth knowing that the difference between 36V and 48V motors isn’t just about top speed. It also affects how much torque you have in reserve for climbing hills on a fully loaded bike, which matters more on tour than it does on a quick ride around town.
Range Planning: Why Real-World Miles Never Match the Box
Every e-bike comes with an advertised range. Treat that number as a best-case scenario, because that’s exactly what it is.
Manufacturers typically test range on flat ground, with a light rider, at low assist. Load up camping gear, add some hills, and turn the assist up when you need it, and that number drops fast. A bike advertised at 60 miles might realistically give you 30 to 40 miles on a loaded, hilly touring day. That’s not a flaw in the bike. It’s just a different set of conditions than the test used.
A handful of factors decide where you land on any given day:
- Terrain. Hills eat battery fast. Flat, paved routes are far more forgiving than gravel or mountain roads.
- Cargo weight. More gear means the motor works harder to move the same distance.
- Temperature. As mentioned above, cold weather quietly shrinks your range.
- Assist level. Riding on the highest assist setting all day will drain a battery far quicker than saving it for the moments you actually need it.
- Tire pressure and cadence. Underinflated tires create drag, and pedaling at a steady, efficient cadence (most riders find a sweet spot somewhere in the 70-90 RPM range) helps the motor work more efficiently instead of fighting against you.
The single biggest lever you control is assist level. Use the lowest setting that still feels comfortable on flat stretches, and save your higher assist levels for hills and headwinds, the places where you actually need the help. Riding this way, rather than leaving the assist cranked up the whole day, is often the difference between finishing your route with battery to spare and pushing a dead e-bike into camp.
It’s also worth building a buffer into your daily mileage plan rather than routing right up to your battery’s theoretical limit. A route planned around 40 miles when your realistic range is 45 gives you room for wrong turns, headwinds, or an unplanned hill your map didn’t show.
Getting Your E-Bike Ready Before You Roll Out
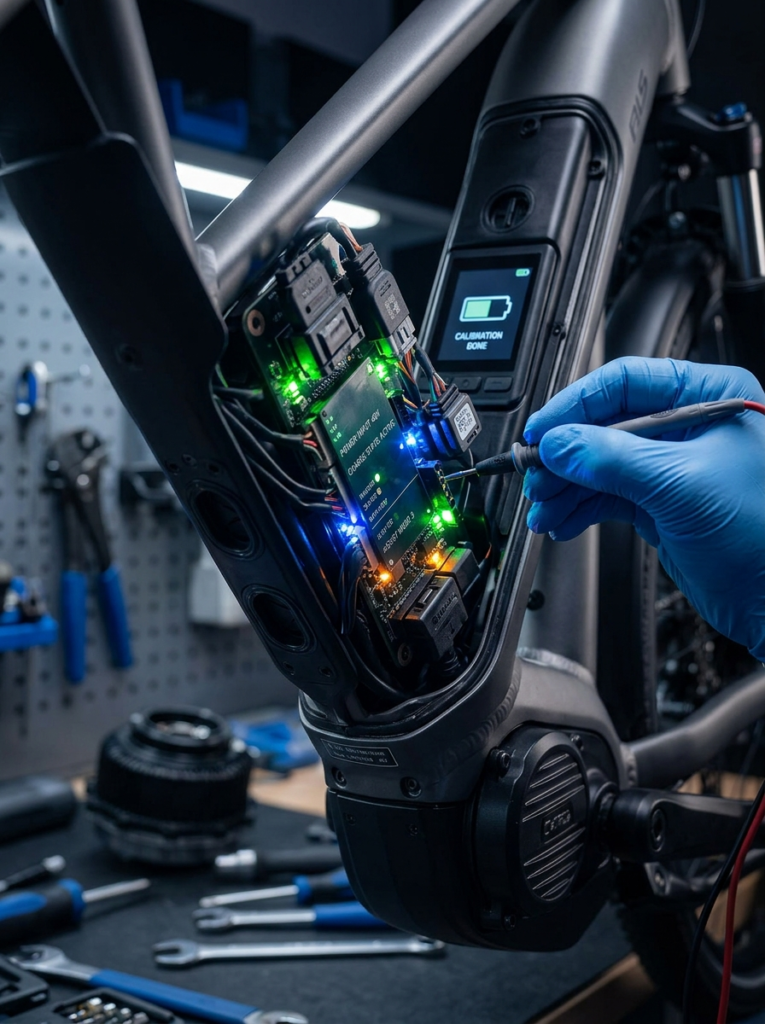
A multi-day tour puts more strain on a bike than months of regular riding. Before you leave, it’s worth going through a proper check rather than assuming everything’s fine because it worked fine last weekend.
Brakes, drivetrain wear, tire condition, and spoke tension all deserve a look, especially given how much extra weight you’ll be carrying. If it’s been a while since your last tune-up, a realistic e-bike maintenance schedule is a good way to figure out whether you’re due for one before you go, not after something fails on day three.
It’s also smart to know the basics of troubleshooting before you’re relying on it in the field. Motor hiccups and controller issues do happen, and knowing how to work through common e-bike controller problems ahead of time means a weird glitch doesn’t turn into a trip-ending panic.
Flying, Trains, and Crossing Borders With a Battery
If your tour involves a flight to the starting point, there’s a wrinkle regular bike touring never has to deal with: your battery probably can’t fly with you.
Airlines and the FAA cap spare lithium-ion batteries at 100 watt-hours without special approval. Batteries between 101 and 160 watt-hours need airline approval and are limited to two per passenger. Anything over 160 watt-hours is barred from passenger flights entirely.
Most e-bike batteries run well past that, often in the 400 to 960 watt-hour range, which puts them out of reach for standard air travel.
In practice, this means you’ll likely need to ship your battery separately through a carrier equipped for lithium battery freight, rent or buy one at your destination, or plan a tour that starts somewhere you can drive or take a train to instead. Some train and bus lines have their own battery restrictions too, so it’s worth checking before you build a route around one.
Rules also vary by state once you’re on the ground, so it’s worth a quick check of current e-bike battery laws where you’re headed if your route crosses state lines.
Frequently Asked Questions: E-Bike Touring Guide
Is e-bike touring harder than regular bike touring?
Not harder physically, since the motor does a lot of the work. It’s harder logistically, mainly because of daily charging and a heavier bike to manage.
How far can you go on an e-bike per day while touring?
Most loaded touring riders plan for 30 to 50 miles a day, depending on terrain, assist use, and how much charging time they build into the schedule.
Do I need to bring a spare battery for e-bike touring?
Not necessarily. Many riders get by with just a charger and a plan for where to plug in each night. A spare battery adds range but also adds real weight.
Can I fly with my e-bike battery?
Almost certainly not as carry-on or checked baggage. Most e-bike batteries exceed the 160 watt-hour limit for passenger flights, so you’ll need to ship it separately or source one at your destination.
What’s the biggest mistake first-time e-bike tourers make?
Trusting the advertised range number. Real-world range with camping gear and hills is often 30 to 50 percent lower than the number on the box.
Final Thoughts
E-bike touring isn’t a harder version of regular touring, and it isn’t an easier shortcut either. It’s a different set of trade-offs. You give up some simplicity, since now you’re managing a battery and a charging routine instead of just your legs.
In exchange, you get more miles, less exhaustion, and a tour that opens up to more fitness levels and more people you might want to ride with.
The riders who enjoy it most aren’t the ones with the fanciest bike. They’re the ones who planned around their battery instead of getting surprised by it. Get your charging routine sorted, load your gear with the bike’s balance in mind, and plan your range with a buffer instead of a best case.
Do that, and the motor stops being one more thing to manage, and starts being the thing that lets you go further than you would have on your own.